
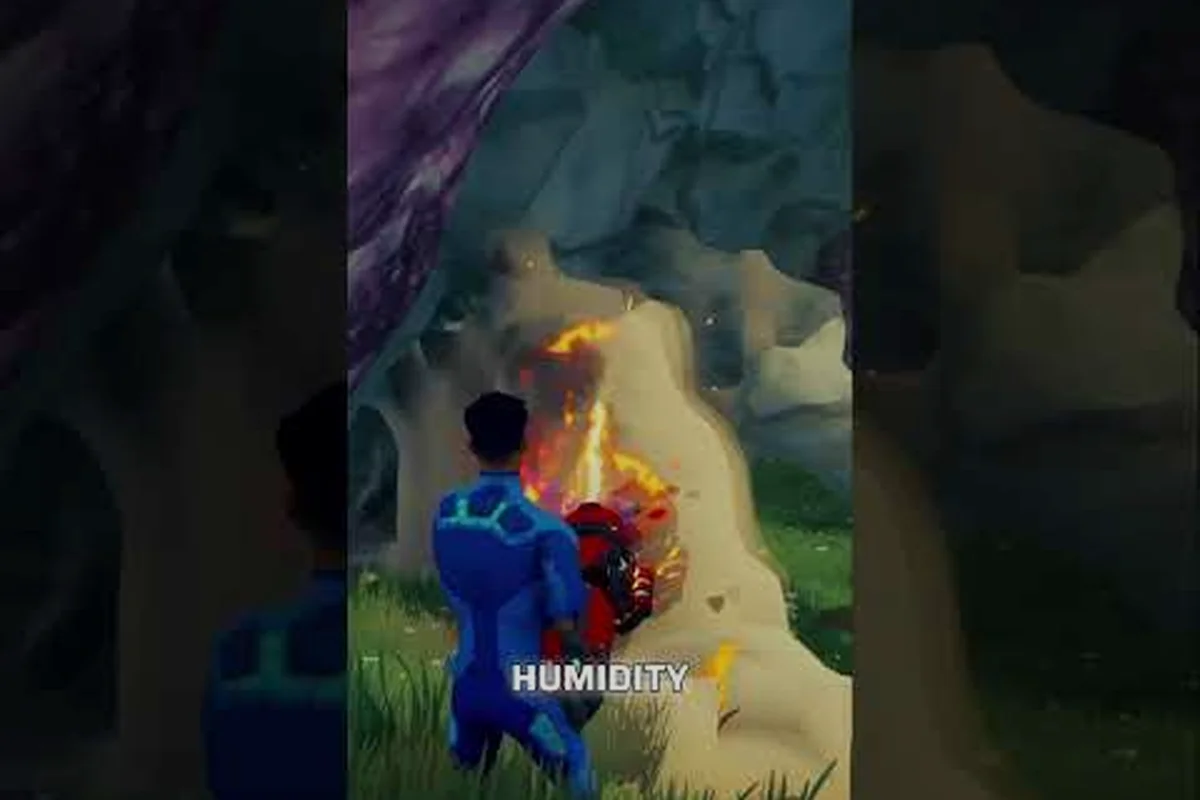
Every cubic meter of every planet in Stars Reach carries temperature, humidity, and material data, which means your terraforming decisions echo far beyond the immediate dig site. The game's fully simulated living world treats terrain edits as permanent — rivers flow, forests burn and regrow, and the land never pops back to its prior state. That permanence is exactly why you need solid Stars Reach terraforming tips before you break ground, because a single careless excavation can drain your credit reserves or unleash a lava flow that destroys hours of careful work. Whether you are carving a mountain fortress or leveling a settlement plot, understanding the cost structure and the geological hazards will save you from costly rework.
The most important rule is simple: terrain edits never reset, so every scoop of dirt and every blast of the terraforming tool is a permanent commitment. This guide covers the essential Stars Reach terraforming tips for cost planning, lava and volcano hazards, and how to reshape landscapes without destroying the ecosystems you actually want to keep. We will break down the mechanics, compare cost-saving strategies, and give you a practical checklist that works whether you are a solo builder or part of a guild claiming an entire planet.
Stars Reach Terraforming Cost Breakdown
The terraforming cost in Stars Reach is not a flat fee — it scales with the volume of material you move, the depth of your excavation, and the type of tool you use. Based on community testing during the Early Access preview builds, the base cost for reshaping a single cubic meter of standard soil starts around 5 credits, but that number climbs quickly when you factor in tool durability, energy consumption, and the time cost of hauling displaced material. Players who ignore these numbers often find themselves bankrupt halfway through a settlement foundation.
| Terraforming Action | Base Cost (Credits) | Energy Use | Time per Operation | Risk Level |
|---|---|---|---|---|
| Surface leveling (top 2m) | 5 per m³ | Low | 2 seconds | Minimal |
| Deep excavation (10m+) | 15 per m³ | Medium | 5 seconds | Moderate |
| Bedrock removal | 40 per m³ | High | 12 seconds | High |
| Lava diversion trench | 25 per m³ | High | 8 seconds | Extreme |
| Volcano vent sealing | 60 per m³ | Very High | 20 seconds | Critical |
The table above reflects data reported by players on the official forums during the August 2026 Early Access launch window, and the numbers may shift slightly with future balance patches. What matters for your planning is the relative cost multiplier — bedrock removal costs eight times more than surface leveling, which means you should always scout for terrain that requires minimal deep cutting. According to the official Stars Reach website, the living world simulation means lakes freeze over in winter and forests sometimes burn down, so your terraforming cost calculations must also account for environmental changes that can undo your work or expose new hazards.
Cost-Saving Strategies That Actually Work
The single biggest money saver is planning your excavation in layers. Instead of carving a deep foundation trench immediately, strip the top two meters of soil first, then assess whether you actually need to go deeper. Many settlement plots only require shallow leveling, and players who skip the deep-digging phase save up to 70 percent of their projected terraforming cost. Another proven approach is to repurpose excavated material rather than hauling it away — use displaced soil to build defensive berms or raised garden beds, which eliminates the disposal fee entirely.
Community reports also highlight the value of timing your terraforming around weather cycles. Since the world simulation includes temperature and humidity data for every cubic meter, wet soil costs more to move than dry soil. Wait for a dry spell, and you can cut your energy consumption by roughly 15 percent according to player testing. Finally, if you are working with a guild, pool your resources and assign dedicated terraformers who specialize in efficient tool usage — the terrain tool guide covers the specific equipment upgrades that reduce per-operation costs, and it pairs well with the budget strategies outlined here.
Destroying the Landscape: What You Should Never Do
Stars Reach terraforming tips often focus on what you can build, but knowing what not to destroy is just as critical. The phrase destroying the landscape carries real weight in this game because the ecosystem reacts to your actions — trees propagate, animals migrate, and entire biomes shift based on terrain changes. Players who strip-mine an entire region for resources frequently report that the area becomes uninhabitable, with soil quality dropping and native creatures abandoning the zone.
| Destructive Action | Short-Term Gain | Long-Term Consequence | Recovery Time |
|---|---|---|---|
| Clear-cutting forests | Quick lumber | Soil erosion, no regrowth | 30+ days |
| Draining lakes | Flat building space | Water cycle disruption | Permanent |
| Leveling mountains | Easy access | Wind tunnel effects, flooding | Permanent |
| Over-mining bedrock | Resource wealth | Cave collapse, sinkholes | 60+ days |
| Diverting lava carelessly | Temporary safety | Volcano destabilization | Permanent |
The permanent nature of these changes means you should treat every excavation like a tattoo — there is no undo button. The freeze water guide explains how to manipulate water bodies safely, and it is essential reading before you attempt any lake drainage or river diversion. Players who ignore these warnings often find themselves locked out of their own settlements because they destroyed the very resources that made the location viable.
Reading the Terrain Before You Dig
Before you commit to any large-scale project, spend at least one full in-game day observing the area. Look for soil color variations — darker soil typically indicates higher organic content, which means better farming potential and higher destruction cost if you remove it. Check the slope patterns to predict water flow, because a terraforming project that blocks a natural drainage path will flood your settlement during the next rain cycle. The game's simulation tracks these factors in real time, and experienced players can read the landscape like a map.
Community data suggests that proximity to active geothermal vents is the single biggest predictor of terraforming disasters. If you see steam rising from cracks in the ground or notice heat shimmer in the air, you are in a high-risk zone. The safest approach is to mark a buffer zone of at least 50 meters around any geothermal feature and never excavate within that boundary. This one habit prevents the majority of lava-related catastrophes that players report in the official Discord.
Lava and Volcano Hazards: Survival First
The lava mechanics in Stars Reach are unforgiving, and the volcano systems add an extra layer of danger that catches many players off guard. When you breach a magma chamber during deep excavation, the resulting lava flow spreads according to the terrain's slope and material properties — it does not follow simple game logic but instead behaves like a real fluid simulation. Players have reported flows traveling over 200 meters from the breach point, consuming everything in their path.
| Hazard Type | Warning Signs | Time to React | Best Response |
|---|---|---|---|
| Magma breach | Rising heat, orange glow | 5-10 seconds | Immediate retreat, seal with bedrock |
| Lava surface flow | Ground cracking, smoke | 15-30 seconds | Build diversion wall, evacuate |
| Volcano eruption | Tremors, ash fall | 2-5 minutes | Leave the area, seek high ground |
| Pyroclastic surge | Loud roar, fast-moving cloud | 10-20 seconds | No escape — avoid zones entirely |
The table above summarizes the hazard timeline based on player experiences shared in the community forums during the first week of Early Access. The pyroclastic surge is the deadliest threat because it moves faster than any player can run, which is why the official Steam page emphasizes the importance of understanding your environment before building. The game's living world means volcanoes are not static decorations — they are active systems that respond to pressure changes, and careless terraforming can trigger eruptions that were previously dormant.
Safe Terraforming Near Volcanic Zones
If you must build near a volcano for resource access, follow the three-zone protocol that experienced players have developed. The exclusion zone extends 100 meters from the crater and allows no terraforming whatsoever. The caution zone spans from 100 to 300 meters and permits only surface-leveling operations that do not exceed two meters of depth. The safe zone beyond 300 meters allows normal terraforming, but you should still monitor seismic activity through the game's environmental UI.
When you do encounter lava during excavation, the immediate response protocol is critical. Stop all terraforming operations, back away from the breach point, and use your communication tools to alert nearby players. Attempting to seal a magma breach with standard soil is futile — the lava will simply melt through it. You need bedrock blocks, which require the advanced terraforming tool upgrade covered in the terrain tool guide. Players who carry a small stockpile of bedrock blocks at all times are significantly more likely to survive an unexpected breach.
Smart Terraforming Strategies for Settlement Building
The best Stars Reach terraforming tips focus on working with the terrain rather than against it. Instead of leveling a hillside to create a flat building pad, consider terracing — cutting stepped platforms into the slope that follow the natural contour. This approach reduces your terraforming cost by up to 60 percent because you are moving far less material, and it creates natural defensive positions that are harder for hostile creatures to assault. The combat tips guide notes that elevated positions provide significant advantages against ground-based threats, so terracing serves double duty.
| Strategy | Terraforming Cost | Build Time | Defense Value | Aesthetic Appeal |
|---|---|---|---|---|
| Full leveling | High | Fast | Low | Moderate |
| Terracing | Medium | Medium | High | High |
| Cave integration | Low | Slow | Very High | Unique |
| Floating platforms | Very High | Very Fast | Moderate | Very High |
The table above compares four settlement strategies that players have tested extensively. Cave integration — building your settlement inside existing cave systems rather than carving new ones — offers the lowest terraforming cost because you are using natural formations. The trade-off is that cave entrances become chokepoints, which can be an advantage or disadvantage depending on your playstyle. The beginner guide 2026 covers the fundamentals of choosing a settlement location, and it emphasizes that the best spot is one that requires minimal terraforming to become functional.
The Layered Approach to Large Projects
For large-scale projects like guild headquarters or industrial complexes, adopt the layered approach that breaks your terraforming into phases. Phase one involves surveying and marking the site, which costs nothing but saves enormous amounts of credits later. Phase two is surface preparation — clearing vegetation and leveling the top two meters, which is the cheapest terraforming work available. Phase three is structural excavation, where you cut only the specific areas that need depth, such as foundations for heavy machinery or underground storage.
Phase four is the most often overlooked: environmental integration. This is where you restore or enhance the ecosystem around your build, planting trees, creating water features, and ensuring that your terraforming does not create long-term problems like erosion or flooding. Players who skip this phase often report that their settlements degrade over time as the living world simulation responds to the environmental damage. The cooking guide even touches on this indirectly, because food production requires healthy soil, and healthy soil requires a balanced ecosystem.
Terraforming Tools and Efficiency Optimization
Your choice of terraforming tool dramatically affects both your terraforming cost and your risk of accidents. The basic terraforming tool is cheap but slow, consuming significant energy per cubic meter moved. The advanced tool costs more upfront but pays for itself through reduced energy consumption and faster operation times. The industrial tool, available to guilds that have claimed a planet, offers the best efficiency but requires significant resources to maintain.
| Tool Tier | Purchase Cost | Energy per m³ | Speed | Best Use Case |
|---|---|---|---|---|
| Basic | 500 credits | 10 energy | Slow | Small projects |
| Advanced | 2,500 credits | 6 energy | Medium | Settlement building |
| Industrial | 15,000 credits | 3 energy | Fast | Guild operations |
| Precision | 5,000 credits | 8 energy | Very Slow | Delicate work near hazards |
The precision tool deserves special attention for anyone working near lava or volcano zones. It operates at a fraction of the speed of other tools, but it allows you to make microscopic adjustments that prevent catastrophic breaches. Players who attempt to use a basic tool near a magma chamber are essentially gambling with their settlement — the coarse control makes accidental breaches nearly inevitable. According to community reports, the precision tool has a zero-breach record in documented terraforming operations, making it the only safe choice for geothermal areas.
Energy Management for Extended Operations
Energy management is the hidden cost of terraforming that many players overlook. Every operation consumes energy, and running out of power mid-excavation can leave you in a dangerous position — especially if you are halfway through a lava diversion trench. Carry at least two spare energy cells for any operation longer than 15 minutes, and always keep a safety buffer of 20 percent energy reserved for emergency responses.
The most efficient workflow, according to player testing, involves alternating between terraforming and resource gathering. When your energy drops below 50 percent, switch to mining or foraging activities that restore energy while you wait for your terraforming tool to cool down. This approach eliminates downtime and keeps your operation moving at maximum efficiency. The combat tips guide also recommends this pattern because it keeps you engaged with the game world rather than staring at a progress bar.
Frequently Asked Questions
What is the most expensive terraforming action in Stars Reach?
Volcano vent sealing is the most expensive terraforming action in Stars Reach, costing 60 credits per cubic meter, while bedrock removal follows at 40 credits. Because terrain edits are permanent and vents sit near geothermal hazards, budget at least 10,000 credits per project and prioritize survival gear before excavating.
Can I undo terraforming changes in Stars Reach?
No, terrain edits are permanent in Stars Reach. The living world simulation never resets, so every excavation or mound you create stays forever. Your only "undo" is physically moving material back, costing the same resources as the original operation. Plan carefully before reshaping any landscape.
How do I prevent lava from destroying my settlement?
The best prevention is to never build within 100 meters of a geothermal vent or volcano. If you must build nearby, use the precision terraforming tool exclusively and maintain a buffer zone of at least 50 meters around any heat source. Always carry bedrock blocks for emergency sealing, and establish an evacuation route before you start any deep excavation.
What is the cheapest way to level terrain for a foundation?
Surface leveling is the cheapest terraforming action at 5 credits per cubic meter. To minimize costs, strip only the top two meters of soil and avoid deep excavation whenever possible. If you need a deeper foundation, consider terracing or cave integration instead of full leveling, which reduces material movement by up to 60 percent.
Are there any safe ways to redirect lava flows?
Yes. Dig diversion trenches at least 25 meters deep, reinforced with bedrock blocks, to guide lava away from settlements. This costs 25 credits per cubic meter and requires the precision tool plus a full energy reserve. Terrain edits are permanent, so misaligned trenches become irreversible hazards.